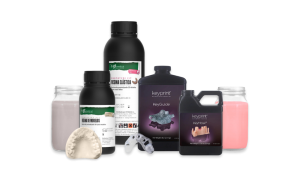
DISCOVER OUR 3D PRINTING RESINS
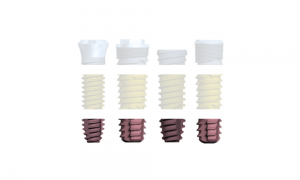
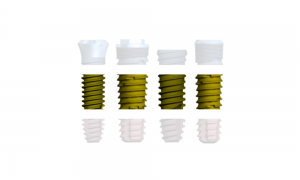
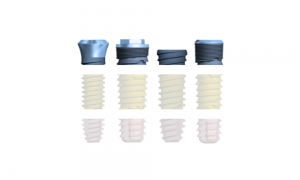
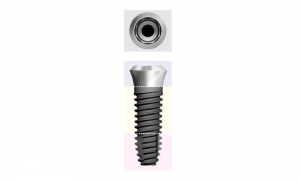
Dental resins have enabled significant advances in dental aesthetics, restoration, and the manufacturing of prosthetic devices. They can be used both in clinics for creating surgical guides and in laboratories to fabricate models for crowns or aligners. In this post, we will show you the wide variety of resins we offer, from more economical options like GT-Medical resins to premium Keyprint resins. Choose the one that best suits your needs on our website! GT-Medical RESINS Dental Model Resin Model resins allow for the quick and precise printing of models for crowns, bridges, implants, orthodontic models, and diagnostics. SUITABLE FOR: Model creation Mock-up testing Fit testing for crowns and bridges FEATURES: High contrast Fracture resistance Easy cleaning Good finish Dimensional stability buy now Try-In Resin Designed for fabricating dental pieces for fit testing or plastic trials. SUITABLE FOR: Printing crowns or bridges in VITA A2 color for testing. FEATURES: Easy cleaning Good finish Dimensional stability BUY NOW Soft Tissue Resin Specifically designed to accurately replicate the appearance and texture of gingival tissue in 3D printed dental models, including flexibility and a soft touch. SUITABLE FOR: Printing gingival tissue for models FEATURES: More rigid Limited working time Good finish Affordable price buy now DISCOVER KEYSTONE INDUSTRIES Keystone Industries is a prominent leader in the fields of dentistry and medicine. Their specialization in manufacturing high-quality products for healthcare professionals has been key to their global leadership. From dental restoration materials to cutting-edge printing equipment, each product reflects their commitment to excellence and reliability. KEYPRINT RESINS KeyPrint resins from Keystone Industries are precise formulations of 3D resins specifically designed for dentistry. These high-quality resins are manufactured in the USA and are available in North America, Europe, and other territories. Compatible with DLP printers and tested for biocompatibility, they ensure safety and efficacy for patients. With a 3-year shelf life and color stability, they offer reliable and durable prints for precise dental procedures. These Keystone resins are divided into two distinct groups: biocompatible resins for medical devices and laboratory resins. NOT SURE IF YOUR 3D PRINTER IS COMPATIBLE WITH KEYPRINT RESINS? FIND OUT IN THIS PDF BIOCOMPATIBLE RESINS Splint Resin: KeySplint Soft® Designed for fabricating flexible night guards or orthodontic devices with elastic memory. FEATURES: Non-yellowing Biocompatible Bite resistant Class IIA certified Flexible Easy to clean BUY NOW Surgical Guide Resin: KeyGuide® Designed for the production of transparent and firm surgical guides, facilitating the placement of implants with highly precise depth and angle. FEATURES: Biocompatible More rigid Good fit Autoclavable COMPRAR AHORA RESINAS DE LABORATORIO KeyModel Ultra™ Designed for 3D printing of dental models, suitable for thermoforming. FEATURES: Dimensional stability Good finish Easy to clean COMPRAR AHORA KeyMask® Artificial gum that is firm and flexible, simulating the appearance and sensation of gingival tissue. Incorporate KeyMask into your digital restoration planning for precise and lifelike results. FEATURES: Flexible Good finish Longer working time COMPRAR AHORA DOWNLOAD THE INFORMATIVE PDF We provide you with an informative PDF that explains everything about our resins: characteristics, uses, and more. Ideal for those seeking clear and detailed information to make the best decisions. LINK PDF
DISCOVER OUR 3D PRINTING RESINS Read More »